TL;DR
Adding items to a toolbar simplifies your workflow by placing frequently used commands within easy reach. The process typically involves right-clicking an item and selecting an "Add to Toolbar" option, or navigating to a "View" or "Settings" menu to find a "Customize Toolbar" feature. This method varies slightly across major platforms like Microsoft Office, Google Chrome, the Windows operating system, and macOS.
Customizing the Quick Access Toolbar in Microsoft Office
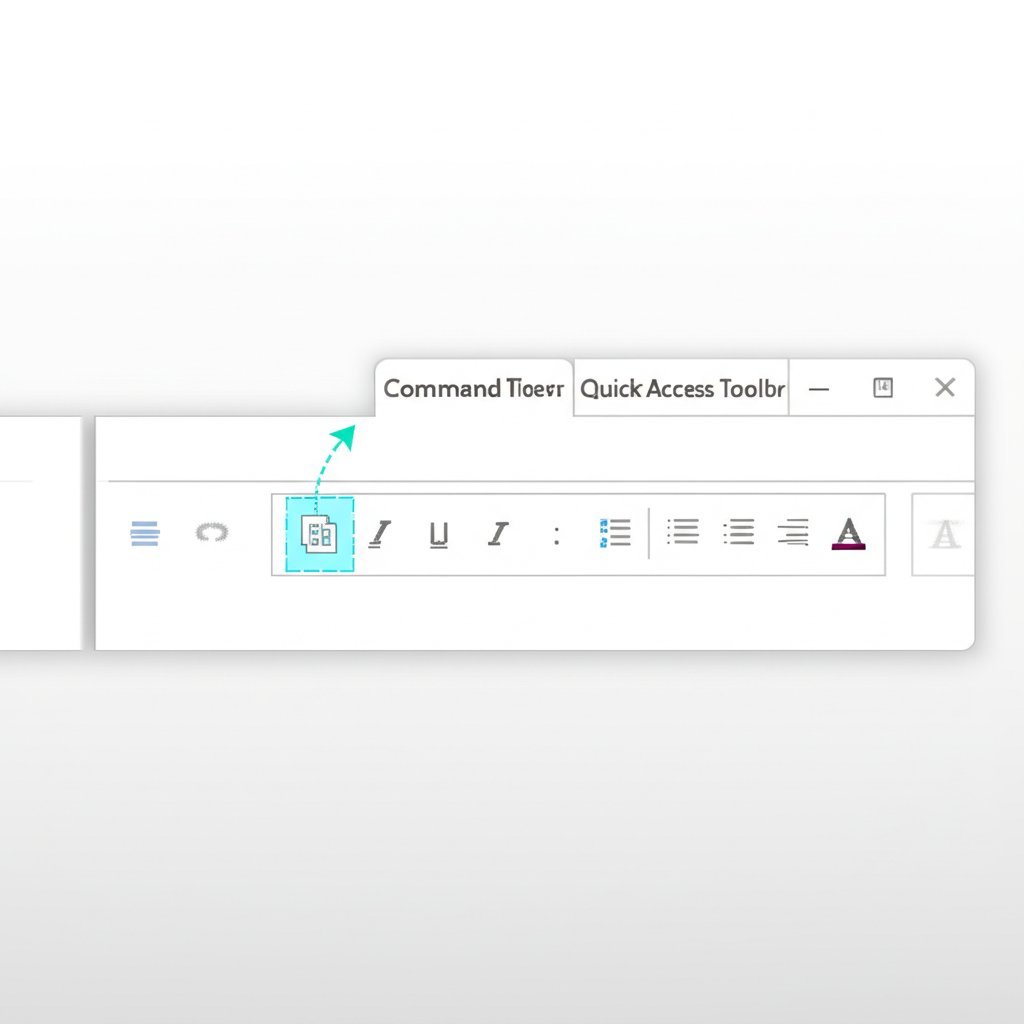
In Microsoft Office applications like Word, Excel, and PowerPoint, the Quick Access Toolbar (QAT) is a small, customizable toolbar that houses a set of commands independent of the ribbon tab that is currently displayed. By personalizing this toolbar, you can create shortcuts to your most-used functions, significantly speeding up tasks like formatting, printing, or saving. This small adjustment can lead to major efficiency gains over time.
There are two primary methods for adding commands to the QAT. The quickest way is to add a command that is already visible on the ribbon. Simply find the command you want to add, right-click it, and select "Add to Quick Access Toolbar" from the context menu. For example, if you frequently use the "Format Painter" in Word or "Freeze Panes" in Excel, you can add them in a single click for permanent, easy access.
For commands that are not on the ribbon, you'll need to use the options menu. Follow these steps:
- Click the "Customize Quick Access Toolbar" dropdown arrow at the end of the toolbar and select "More Commands...".
- In the window that opens, change the "Choose commands from" dropdown to "All Commands" or "Commands Not in the Ribbon" to see a full list.
- Select the command you wish to add from the left-hand list.
- Click the "Add >>" button to move it to the right-hand list, which represents your QAT.
- Click "OK" to save your changes.
Once commands are added, you aren't limited to their initial placement. Within the "More Commands..." window, you can select any command in your QAT list and use the "Move Up" and "Move Down" arrows to reorder them. To remove a command, simply right-click it on the toolbar and choose "Remove from Quick Access Toolbar". Popular commands to add include "Quick Print," "Save As," "Redo," and specific pasting options like "Paste Values."
Streamlining software is just one way to boost productivity. For professionals, especially marketers and content creators, other tools can revolutionize a workflow. For instance, those looking to scale their content production might consider an AI-powered solution. Marketers and creators can revolutionize their content workflow with BlogSpark, an AI blog post generator that transforms ideas into engaging, SEO-optimized articles in seconds, freeing up valuable time for more strategic tasks.
Adding and Customizing the Toolbar in Google Chrome
In Google Chrome, the toolbar located to the right of the address bar is primarily used for managing extensions and accessing browser features. Customizing this space allows you to pin your most-used extensions, such as password managers, ad blockers, or translation tools, for immediate access. A well-organized toolbar makes your browsing experience faster and more efficient.
The primary way to manage your Chrome toolbar is by pinning and unpinning extension icons. When you install a new extension, its icon may or may not appear on the toolbar automatically. To see all your extensions and choose which ones to display, click the puzzle piece icon (Extensions) at the top right of the browser window. This opens a dropdown list of all your installed extensions. Next to each extension, you'll see a pin icon. Clicking the pin will add (or remove) that extension's icon directly to your toolbar.
You can also access more advanced customization options through the Chrome settings menu. This allows you to manage built-in browser feature buttons, not just extensions. To do this:
- Click the three-dot "More" menu at the top right corner of Chrome.
- Navigate to "Settings" and then select "Appearance."
- Find and click on "Customize your toolbar."
- A side panel will open where you can toggle buttons for features like "Reading list" or "History" on or off.
Reordering the icons on your toolbar is a simple drag-and-drop process. Just click and hold any pinned icon and drag it to your desired position in the toolbar. This flexibility lets you prioritize your most critical tools. If you ever feel your toolbar has become too cluttered, you can right-click any pinned button and select "Unpin" from the context menu to hide it. This keeps your browser interface clean while ensuring your favorite tools are just a click away.
Managing Toolbars on the Windows Taskbar (10 vs. 11)
The Windows taskbar has long offered a feature to add toolbars—essentially shortcuts to folders—for quick access to files and applications. However, this functionality changed significantly between Windows 10 and Windows 11, which can be a point of confusion for users. Understanding the differences is key to customizing your workspace effectively in either operating system.
In Windows 10, adding a new toolbar to the taskbar is a straightforward process. You can add built-in toolbars like "Desktop" or create a custom one from any folder on your computer. To do this, right-click an empty space on the taskbar, go to the "Toolbars" submenu, and select an option like "Desktop" or choose "New toolbar..." to browse for and select a specific folder. This was a popular way to get quick access to a project folder or a collection of portable apps directly from the taskbar.
In contrast, Windows 11 removed the classic "Toolbars" feature from the taskbar's right-click menu. This means you can no longer add a folder as a cascading menu directly to the taskbar as you could in previous versions. The modern approach in Windows 11 focuses on pinning individual applications and folder shortcuts. While different, this method provides a cleaner, more streamlined look. To achieve a similar result, you can open File Explorer, right-click a folder you use frequently, and select "Pin to taskbar." This will place a folder icon on your taskbar that opens directly to that location.
The table below highlights the key differences in taskbar toolbar functionality between the two operating systems.
| Feature | Windows 10 | Windows 11 |
|---|---|---|
| Add New Toolbar | Yes (Right-click > Toolbars > New toolbar...) | No (Feature removed) |
| Desktop Toolbar | Yes (Built-in option) | No (Workaround is to pin Desktop shortcut) |
| Primary Method | Adding folder-based toolbars | Pinning individual apps and folders |
Customizing App Toolbars on macOS
On macOS, many applications, including the Finder, Pages, and Safari, feature a customizable toolbar at the top of the window. This allows you to tailor the interface of each app to your specific needs, adding, removing, and rearranging buttons for the functions you use most often. This personalization can make navigating and using your favorite applications much more intuitive and efficient.
The standard method for customizing a toolbar in most Mac apps is consistent and user-friendly. To begin, open the application you want to customize and navigate to the menu bar at the top of the screen. Click on "View" and then select "Customize Toolbar..." from the dropdown menu. This action will open a palette or sheet containing a wide array of available buttons and tools specific to that application.
Once the customization palette is open, modifying the toolbar is a simple drag-and-drop process. To add a button, find the one you want in the palette and drag it up to the toolbar. A green plus sign will appear, indicating you can drop it into place. To rearrange existing buttons, simply hold down the Command key while you click and drag an icon to a new position on the toolbar. This allows you to group related functions or place your most-used tools in the most accessible spots.
Removing an item you no longer need is just as easy. While the customization palette is open, you can drag any button off the toolbar; it will disappear with a "poof" animation. Alternatively, you can hold the Command key and drag an item out of the toolbar at any time, even without the palette open. Additionally, within the customization view, you can use the "Show" pop-up menu to change how buttons appear—options often include "Icon and Text," "Icon Only," or "Text Only," allowing you to balance clarity with space.